How to prepare for a 1-on-1s when I am in the focus role?
Introduction to 1-on-1s in Clanbeat
In Clanbeat, all team members regardless of their user rights can schedule a 1-on-1 with another colleague to boost personal growth and professional development.
The creator of the 1-on-1 can choose a role for themselves and their conversation partner. All content that is created will only be visible to the 2 conversation partners.
The 1-on-1 framework covers 4 steps and helps you to reflect in the preparation phase and follow the conversation during the 1-on-1. The steps appear the same to both you and the partner in the lead role, although only the lead can publish the 1-on-1 for you two.
Receiving the invitation
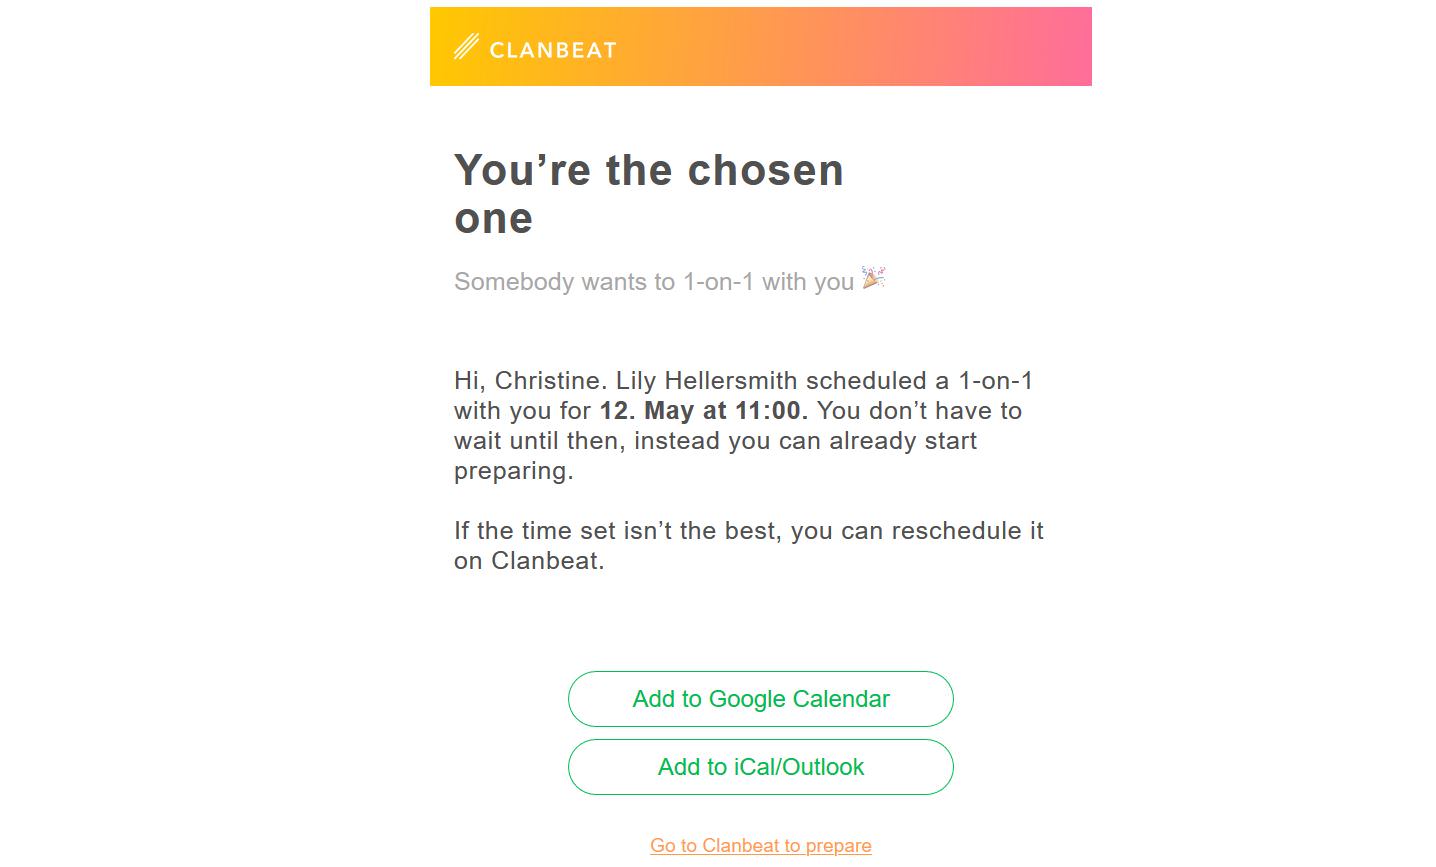
When your colleague has created a new 1-on-1 and sent out the invitation to you, you will receive a notification to your email and can go to Clanbeat to start preparing for the conversation where you will be in focus. Getting ready for the meeting will make sure neither of you forget any important points.
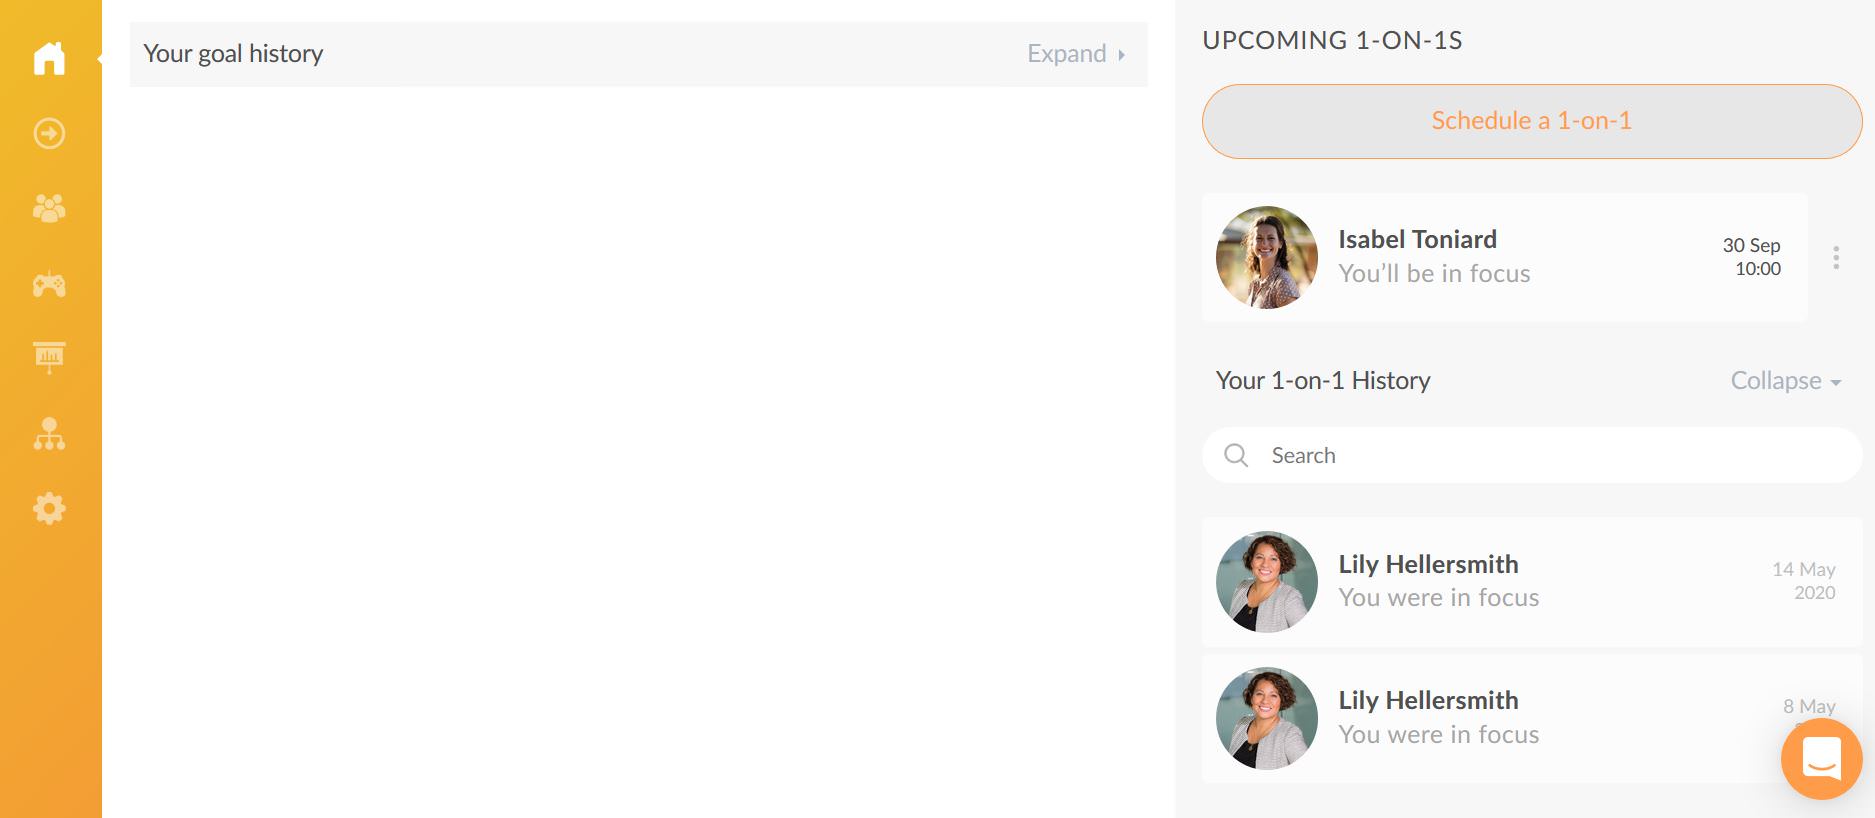
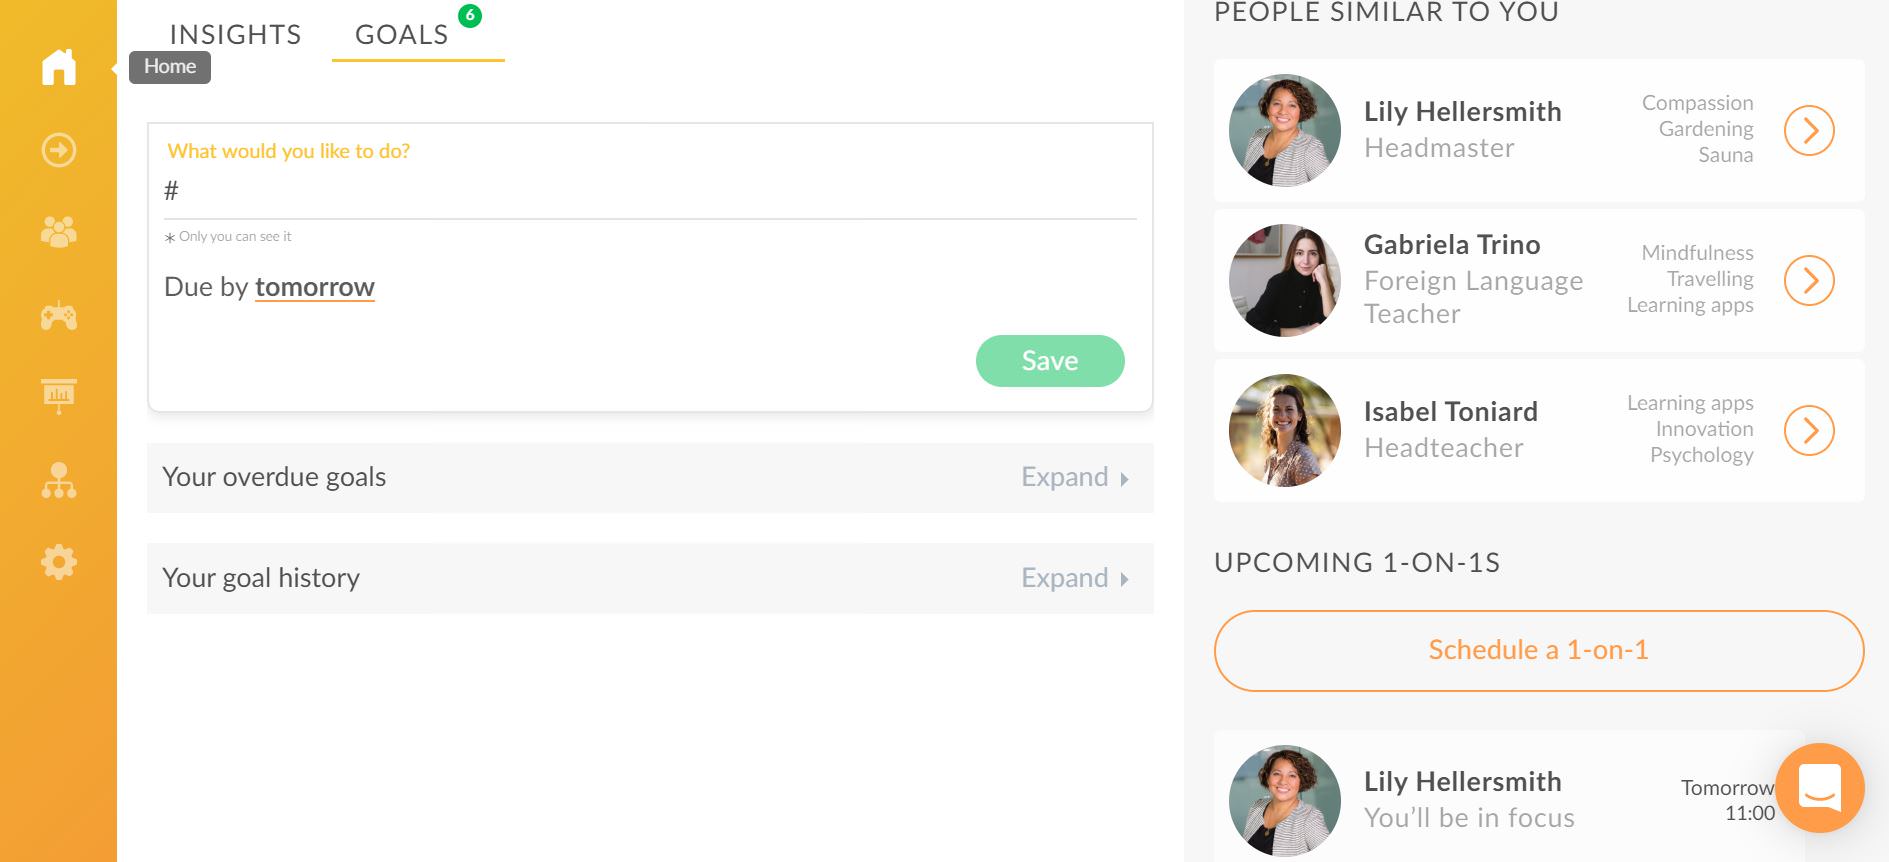
To see the newly scheduled 1-on-1 in Clanbeat, go to the “Home” menu and notice the new 1-on-1 on the right under “Upcoming 1-on-1s”. Mind your role and the agreed date – while the time can be easily rescheduled, the roles can only be changed through deleting the old 1-on-1 and creating a new one.You can click on the three dots next to the created 1-on-1 and choose “Reschedule” to change the set time or click on “Delete” to remove it.
Opening the 1-on-1 framework
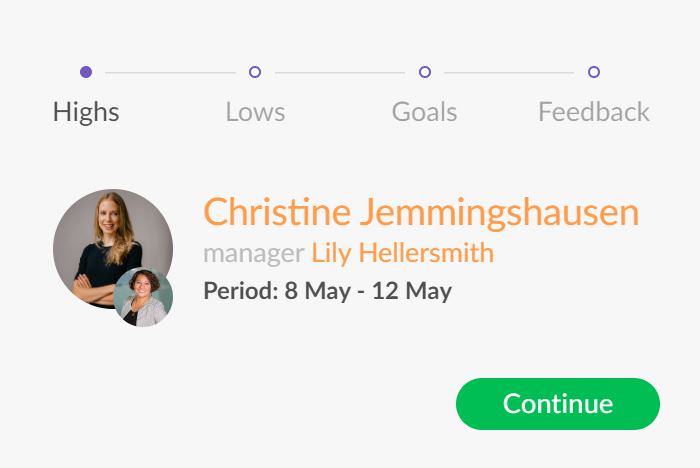
To start adding notes for the 1-on-1 you will have with your partner, click on your conversation partner’s name. This will open the contents of the 1-on-1 framework. Note that both you and your colleague will be guided through 4 stages to look back on the previous period prior to the 1-on-1.
Stage 1: highs
What it’s about
The first stage includes talking points that ask you about your joys and successes.Talking through the highs during a 1-on-1 allows you to reflect on all the positives that you experienced and take pride in your accomplishments. Although both you and your colleague can add talking points, the partner in the lead role should show initiative and provide most of the talking points.
Suggestions
Note that there is a green “Suggest topic” button for suggestions. To see examples for talking points, you can also open the framework of the previously held 1-on-1 if you have had any prior conversations with your colleague.
Personal notes
In the bottom right corner of the screen you will see a place where you can add personal notes which will be visible to only you.
Input from personal insights
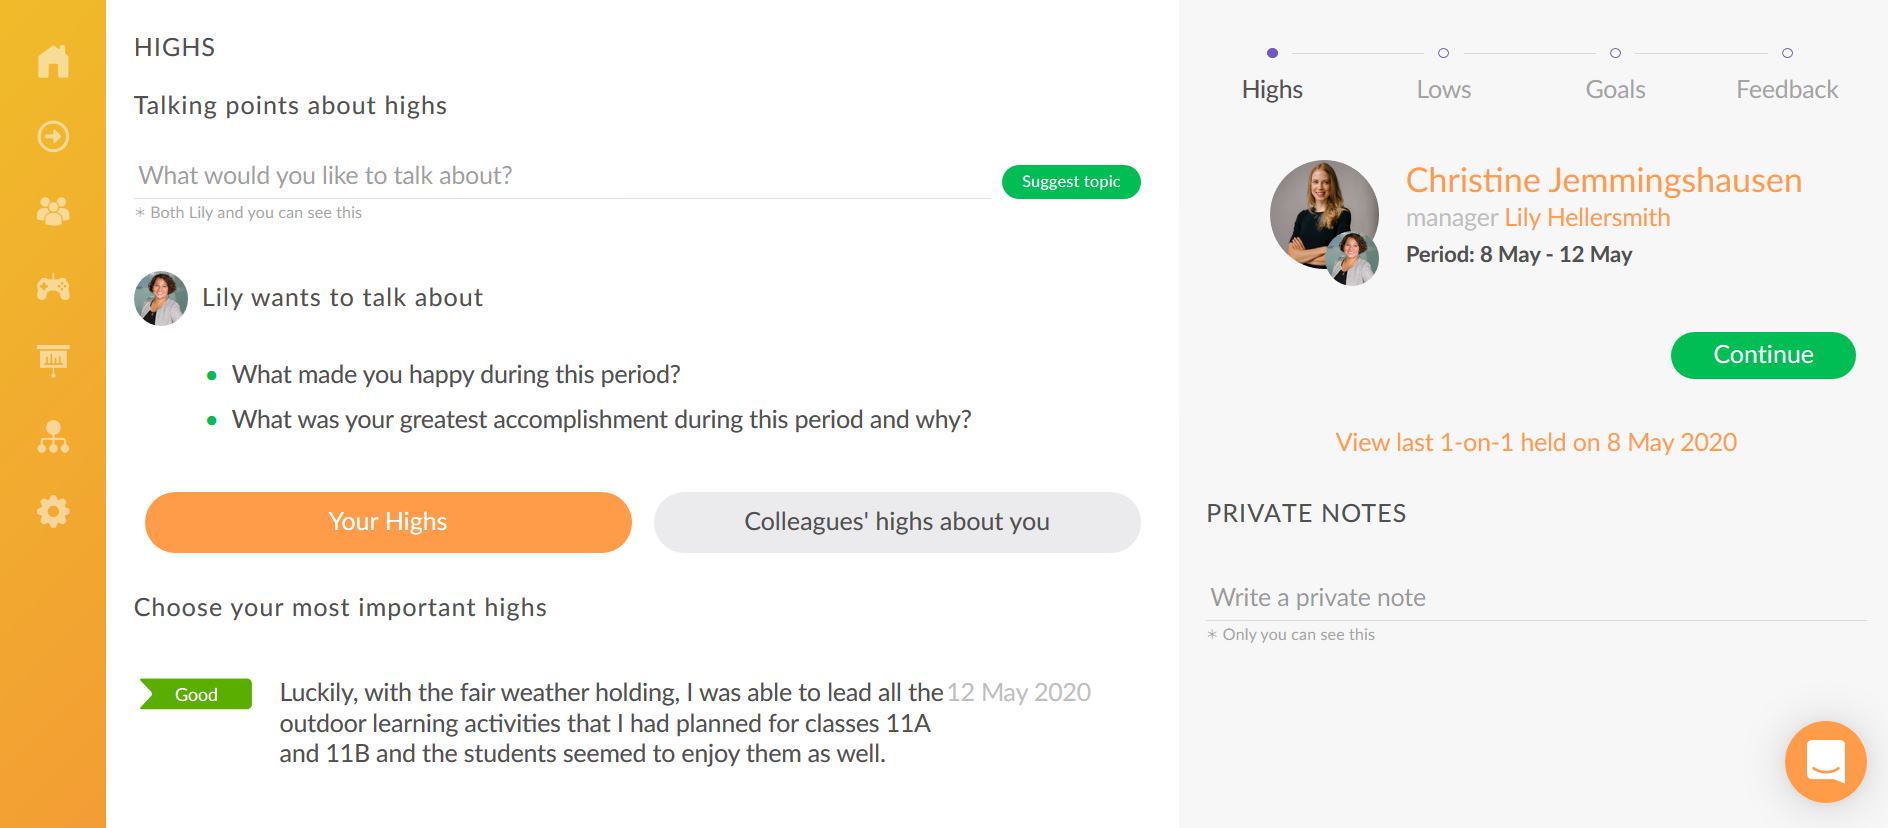
If you have posted any insights with a positive mood attached to them, they will appear under the orange “Your highs” button and help you remember what has happened.Your neutral insights are displayed both in the “Highs” and “Lows” phase and are marked with grey colour.
Input from tagging
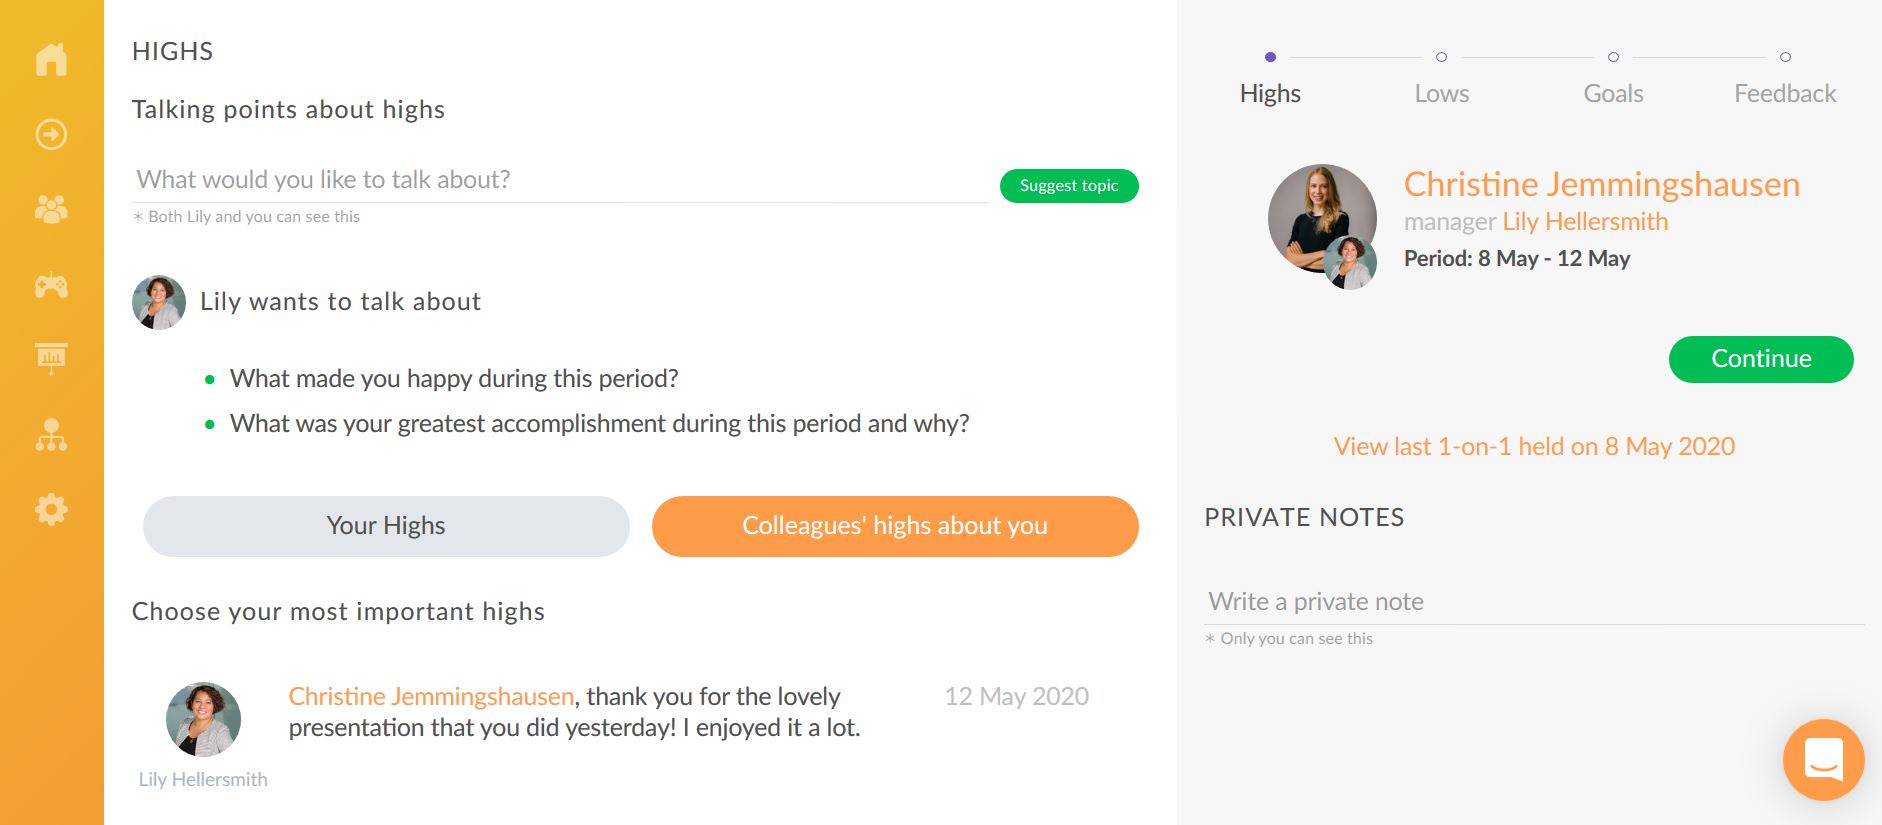
If other team members have tagged your colleague into their insights, these will be displayed under “Colleagues’ highs about X”.
Other cues
We still encourage you to go to your timeline and see all past activities since some helpful clues might appear from your private insights and goals. If you have taken any separate notes on what has gone well in relation to your colleague, you can use them here to create talking points.
Proceed
When you have finished reviewing and adding talking points about highs, click on “Continue” to move to the next stage.
Stage 2: lows
What it’s about
In the next phase you will see talking points which should help to enlighten areas that have been challenging for you. The lows can be, for example, assignment-based, personal or team-related. Here you can give feedback so your partner could support you better. Although discussing lows can be tough, it’s the best way to identify obstacles and solve problems.
The built-in prompts
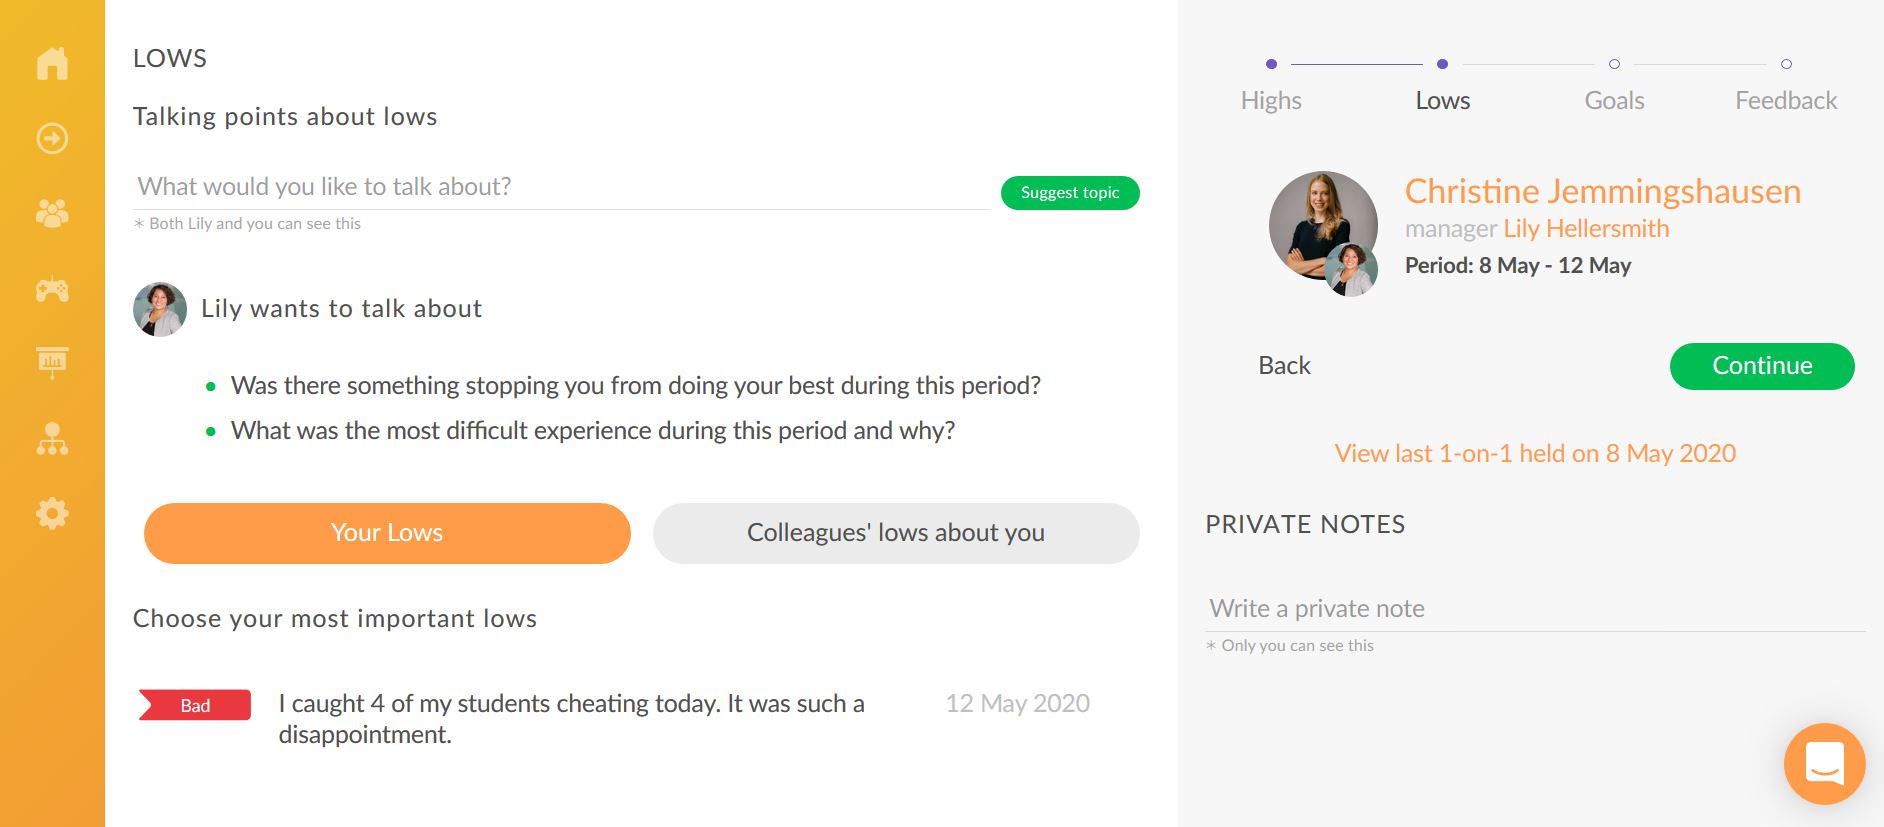
The “Lows” stage is designed the same way as “Highs”. If you wish you can use the suggestions button to find examples for talking points; you can add private notes which will be visible to only you; you can see notes from the previously held 1-on-1 if you have had a prior conversations with your colleague; the public content from your insights will also be displayed under “Your lows” to inform you about past events and under “Colleagues’ lows about you” you will see insights with a low or neutral temperature from other team members if they have mentioned you in them.
Proceed
When you have finished reviewing and adding talking points about lows, click on “Continue” to move to the next stage.
Stage 3: goals
What it’s about
The Goals phase has been created to support your growth journey and help you track progress between the 1-on-1s. Here you can list what you want to accomplish and create actionable goals. Most of the input prior to your conversation is expected to come from you. After the 1-on-1 has been held, you are advised to phrase the goals in a clear manner since they will be moved to your goals feed and wait to be accomplished.
The built-in prompts
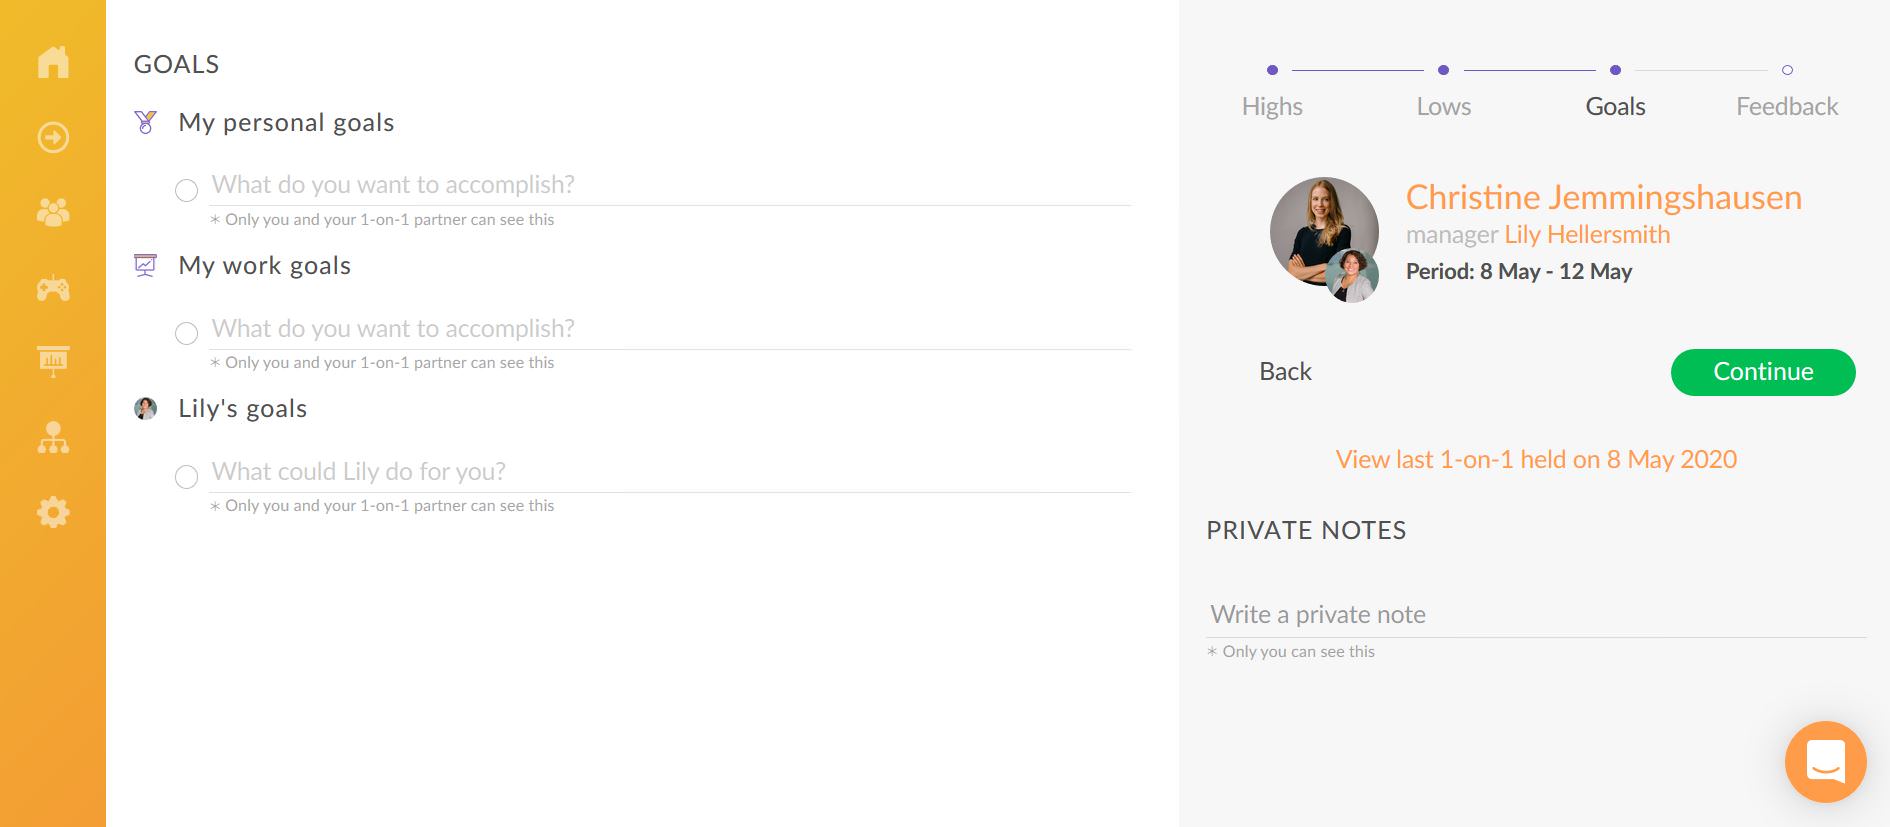
Discussing personal goals with your mentor allows you to express your individual needs and aspirations. You can mention the skills or interests that you would like to advance or use in the work environment. There could also be personal matters that affect your work performance and are good to be discussed to find support. “My personal goals” allow you to formulate these goals.
“My work goals” prompts you and your colleague to reflect on your work specifically and formulate goals that you want to accomplish to move towards expected results, improve day-to-day performance etc. The spectrum of work goals can range from achieving measurable results to improving communication and relationships inside the team.
When discussing and formulating your goals, it should also be decided how your mentor can support you in reaching your goals. If your partner has set any work goals for you or hears about your personal aspirations that overlap with what can be provided by the school, he/she should use the “Mentor’s goals” to formulate how they intend to support you.
If there are any private notes you want to make before discussing these goals over the meeting, you can add them to the “Private notes” field.
Proceed
Click on “Continue” or go to “Feedback” when you want to reach the final step of the preparation process.
Stage 4: feedback and finish line
Visualise your feedback
When you reach the final stage, you have a chance to evaluate your own performance and that of your colleague’s within the period between your 1-on-1s. The farthest balloon on the right indicates that you have done a lot better than expected. The farthest balloon on the left indicates that your performance during this period did not live up to your expectations at all. Your colleague will see your evaluation about yourself and him/her and can also give feedback to you. Both feedbacks will be visible if the 1-on-1 is considered finished by the mentor.
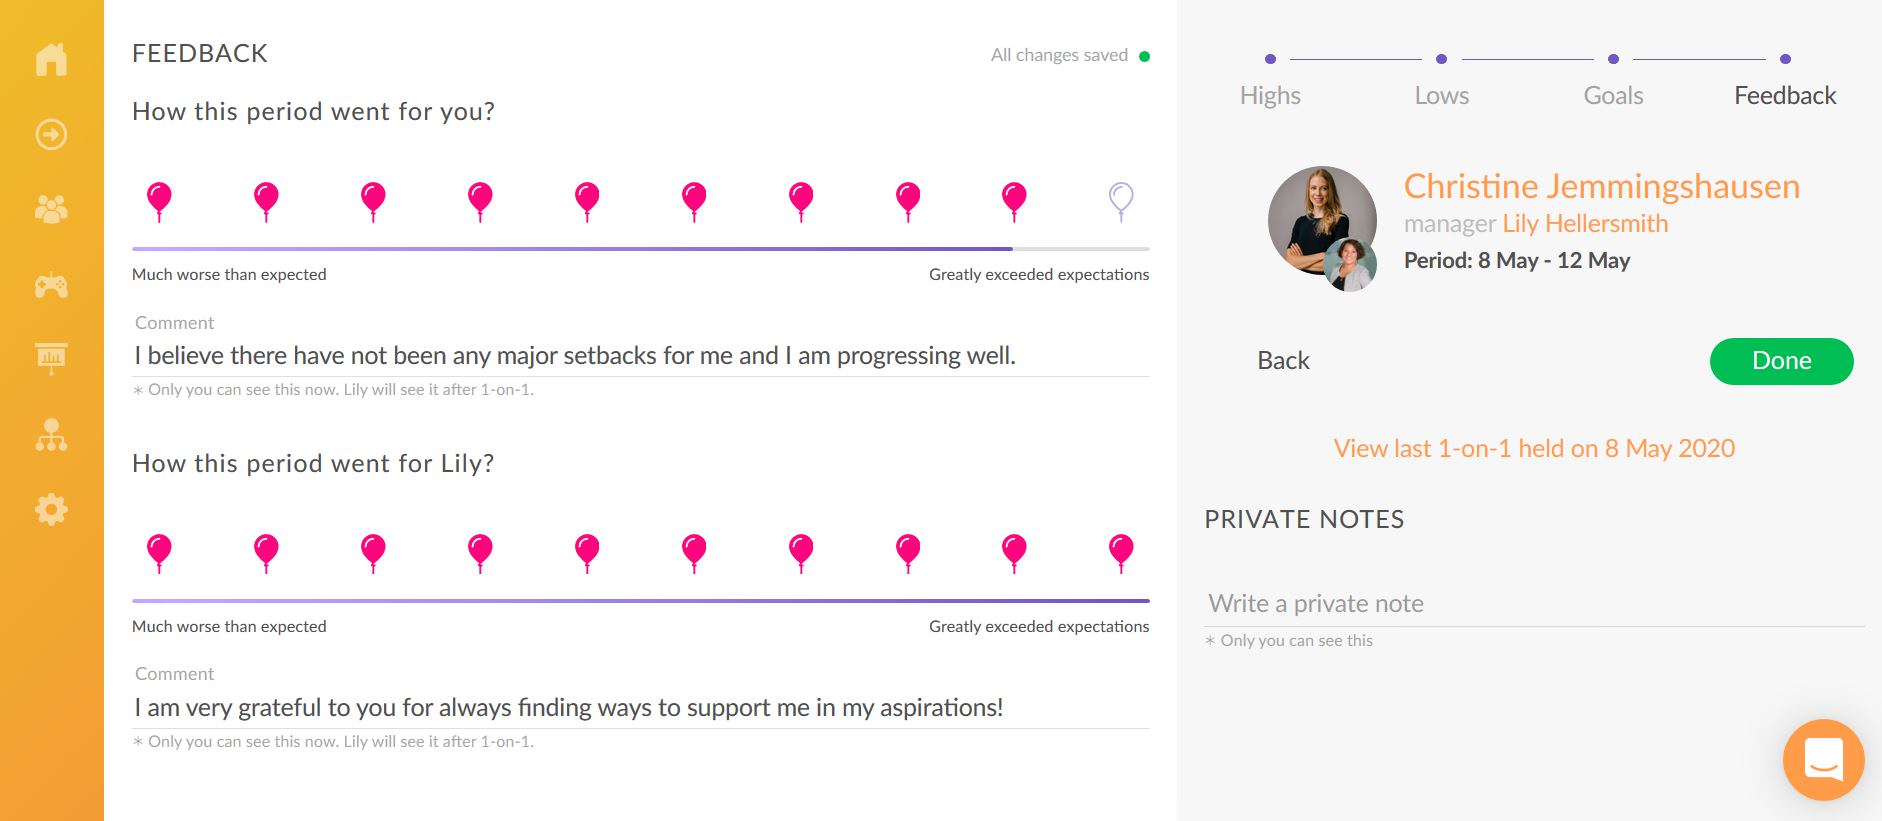
Click on the relevant balloon and use the comment field if you wish to add any comments to your colleague on your choice. Private notes field allows you to make notes for yourself. You can agree with your colleague whether you both will use this feedback option in the system prior to the meeting or choose to opt out and express your feedback in person.
Finish the preparation process
When you have gone through the 4 steps and added your notes, click on “Done” to close the 1-on-1 feature and return to the main page. You should now be prepared to hold the actual conversation and go through the steps together on the day you will meet with your colleague. It is up to you to decide whether to bring a device to the 1-on-1 to see your notes or follow the conversation based on your reflection process.
After the conversation
When the conversation has finished, the goals reviewed and the 1-on-1 published by your partner, the finished 1-on-1 will move to “Your 1-on-1 History” on the main page. If you set any goals for yourself, these will now appear under your goals. Once the 1-on-1 is published it is not possible to delete it although changes can be made to the added content.
