How to create an insight?
Insights enable to share meaningful information and encourage support culture in the team. Insights will gather under a feed where you can see the date when each insight was created and like or comment on them.
Start from Home
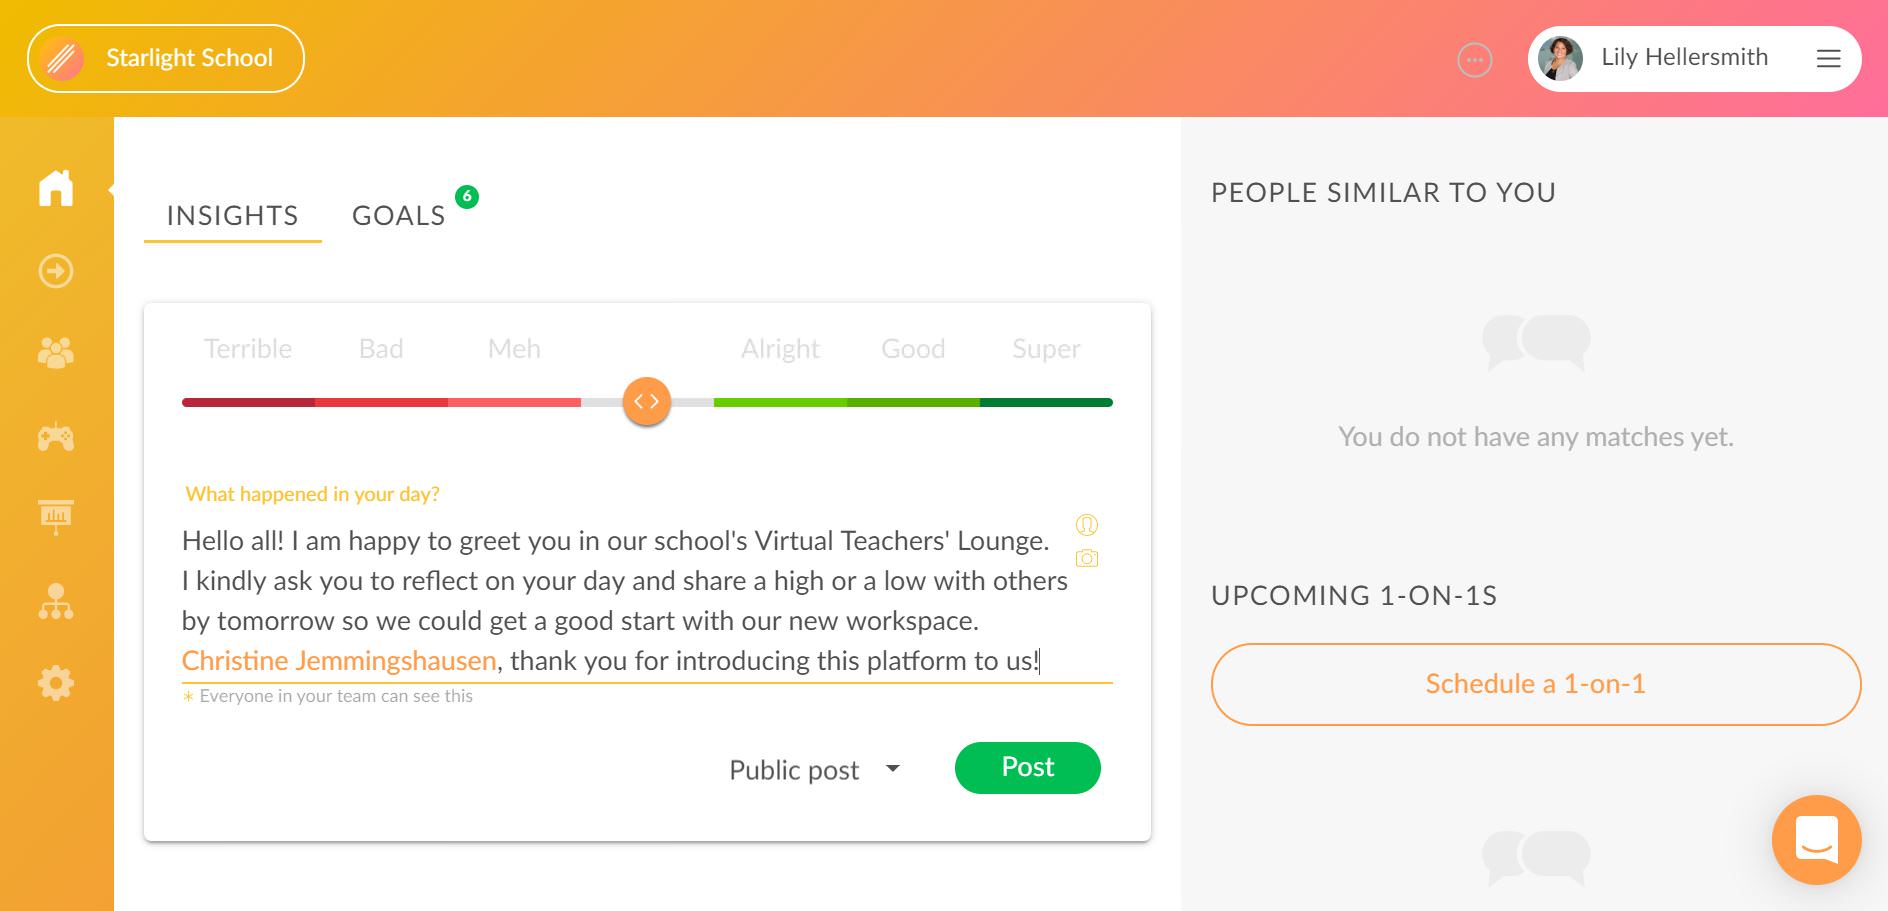
To create the first insight, click on the “Home” menu from the left sidebar. This will take you to the „Insights“ section.
Text Form
If you would like to share your insight in a text form, click on „What happened in your day?“ to type the content of your first insight. You may use a hashtag symbol # with a preferred keyword if you would later like to easily find insights from the same topic.
Mood scale
Above the text box, you will find the mood scale which allows you to set a mood to your insight. Just slide your cursor to left or right or click on the relevant mood indicator.
Tagging
Note that you can tag a colleague within your insight which you can use to offer recognition to a colleague or draw their immediate attention.
Adding photos
Note that you can also attach one photo to illustrate your insight. Please note that the photo should not be more than 5 MB in size.
Privacy settings
With each insight, you can choose whether to share it with everybody in the Virtual Teachers’ Lounge, with certain colleagues or add it privately for your own viewing. Choose „Public post“ for insights that are meant to be seen by everyone in the team. Choose „Only me“ for insights that you wish to create for yourself and pick „Share with“ to select the chosen audience for your insight. We advise to choose “Public post” for your first insight. To publish the insight, click on “Post”.
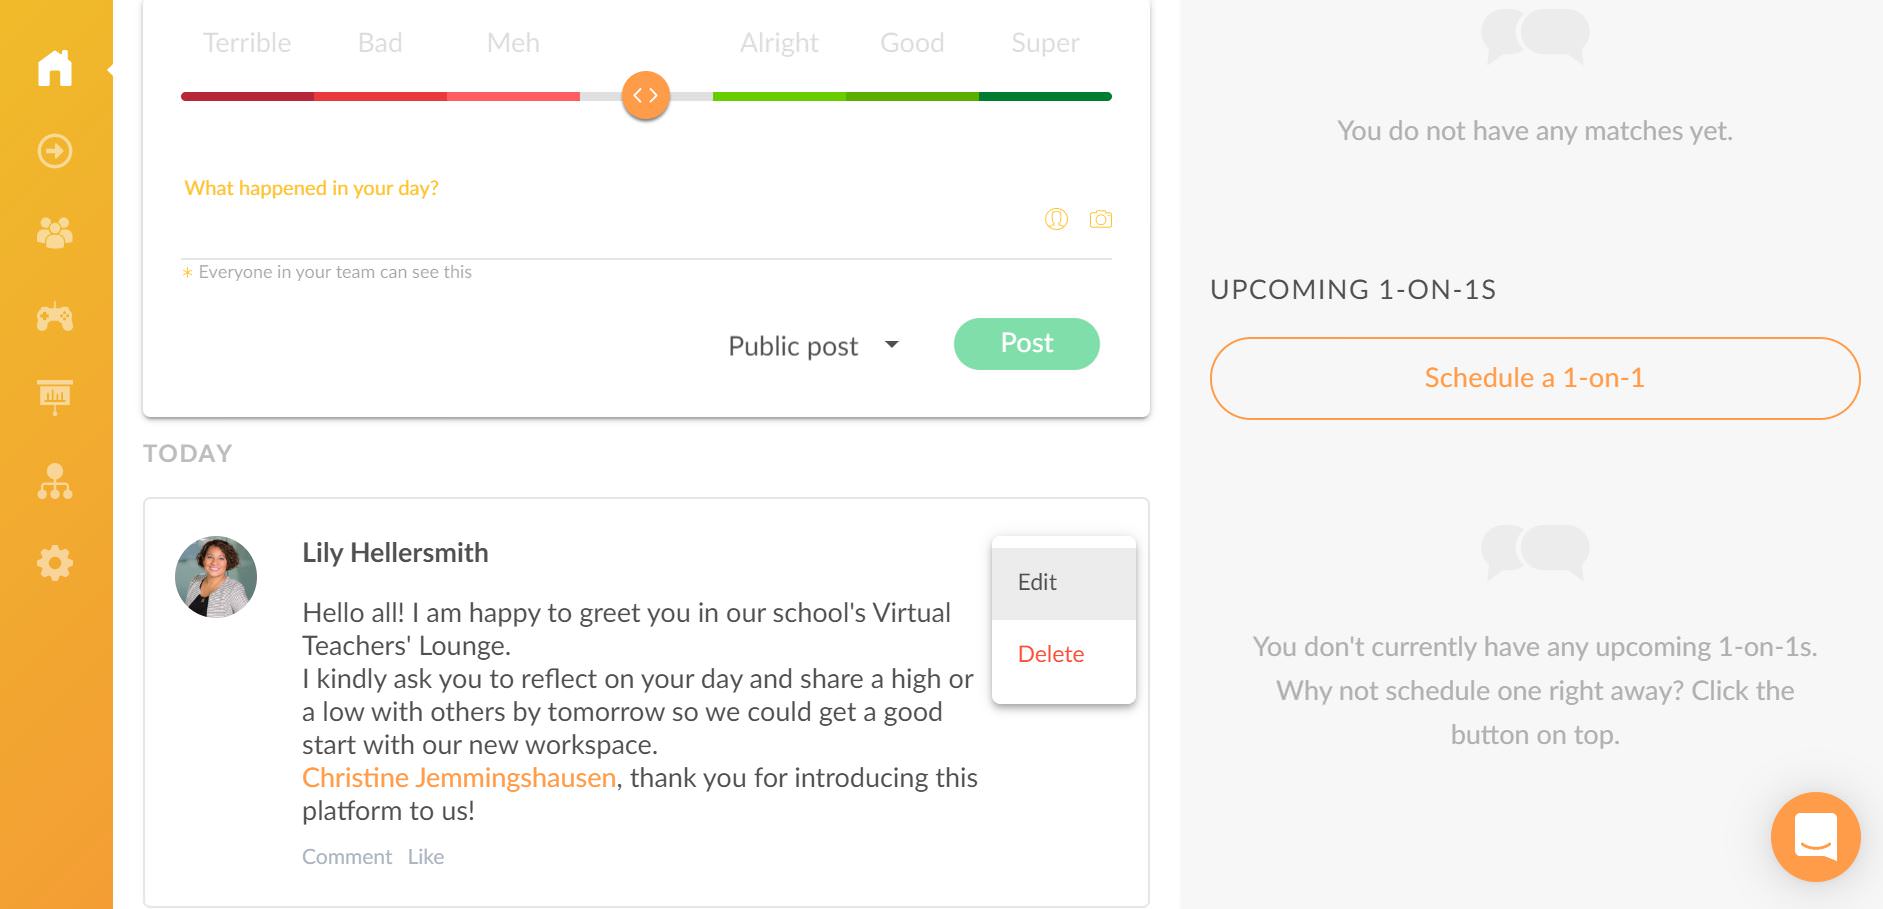
Change or Delete
Once you have clicked on „Post“, you will see your insight greeting the colleagues and setting a good example for others to follow. To edit or delete your insight, please click on the three dots in the right corner of your published insight.